Sewing a shirt for our Dog
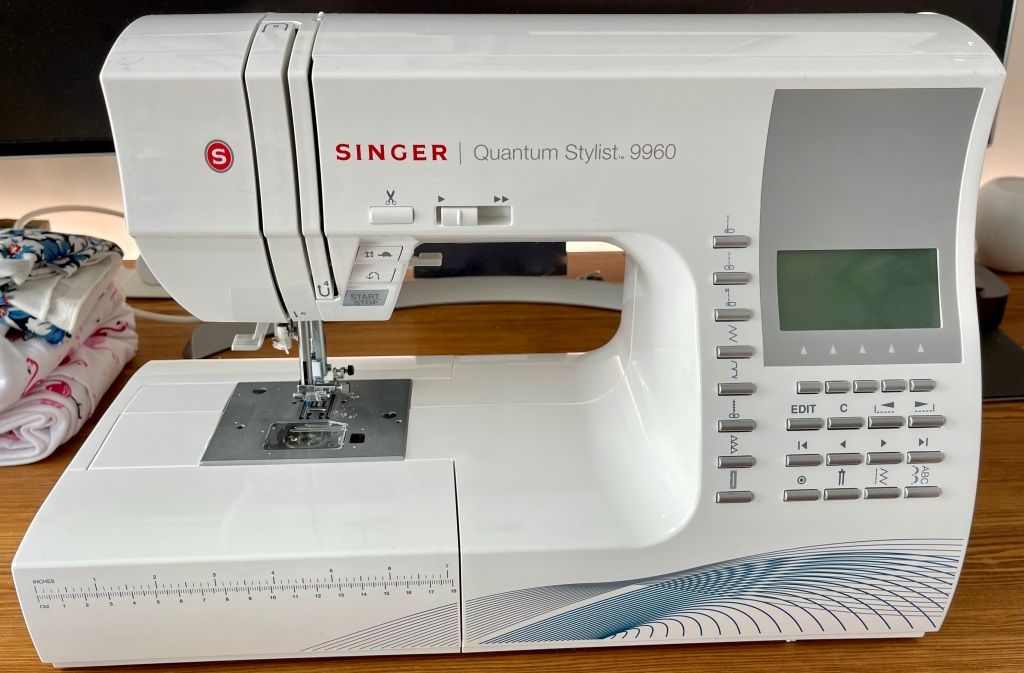
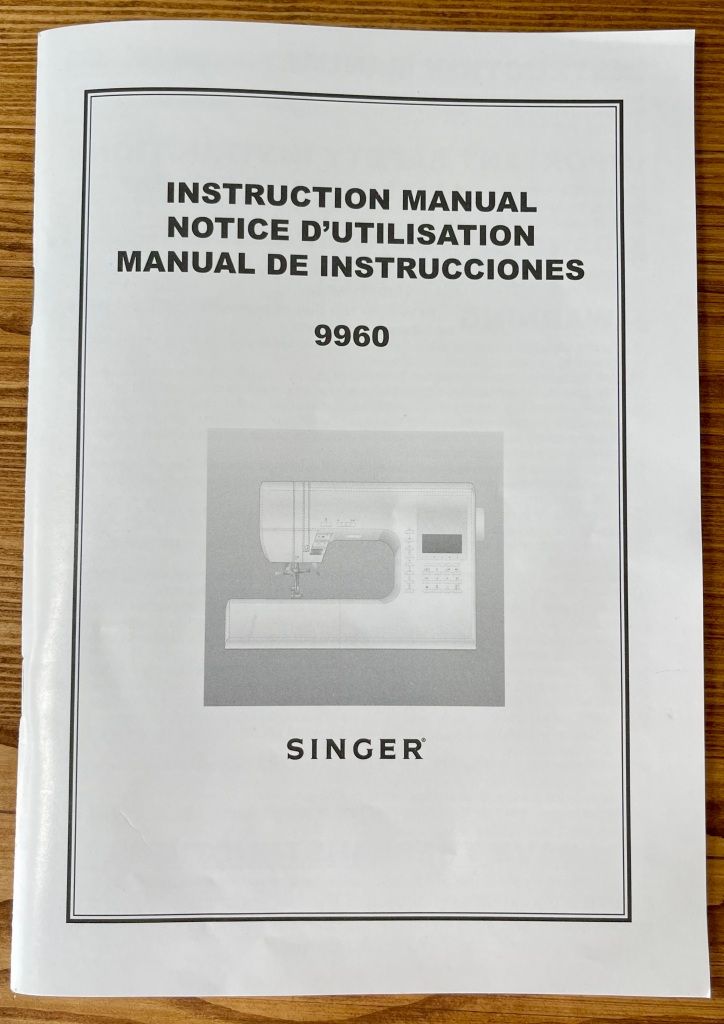
I have decided to do some DIY projects in my spare time to counter the monotony of working a 9 to 5 job. And one of the things I wanted to try was to make clothing from scratch. And thanks to the wonderful people in my life, I have been given a sewing machine for this purpose. The Singer 9960. This machine is overkill for an absolute novice in this field, but I am hoping it will last for a long time.
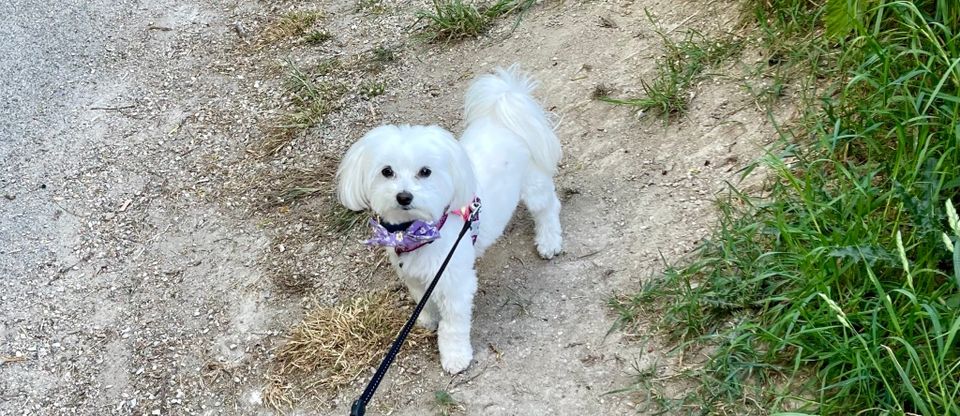
Making clothing from scratch with no significant prior experience in sewing or any idea of fabrics is intimidating, to say the least. I wanted to try and do something on a smaller scale but not shy away from the difficulty of making clothes. My girlfriend had this wonderful idea of trying to make some clothes for our little Maltese dog.
Instead of measuring our dog and trying to come up with a design from scratch, I used a KWIK Sew Pattern (K4033) by the McCall Pattern Company, Inc. This pattern features three different designs to choose from. Two of the designs featured a zipper or velcro, both of which I did not have at home at the time. So I opted for the basic shirt design with two colours and no hoodie (Design A in the picture below).

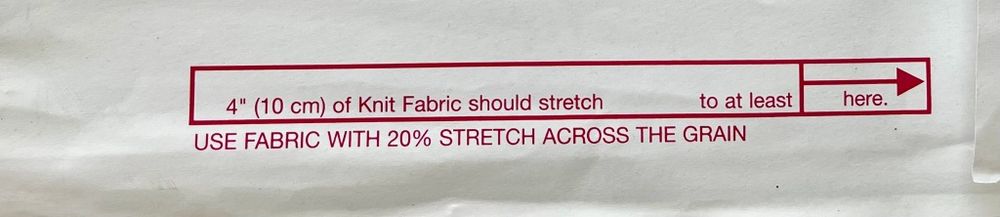
However, I did not anticipate that the shirt required two sets of stretchable fabric, as can be seen on the back of the pattern envelope. The stretch should be around 20%, and at the time, I had only one type of fabric that fulfilled that requirement. Suffice to say, I went into this project a bit unprepared. But no worries, the shirt could just as easily be done in one type of fabric. It would lose its distinct design qualities, but all I wanted was to gain some experience.
The patterns were printed on very thin paper. So thin that I got worried it would rip by accident. But to my surprise, it stayed intact throughout the whole project. The first thing I did was to cut out the pieces that I needed as described in the pattern instructions.
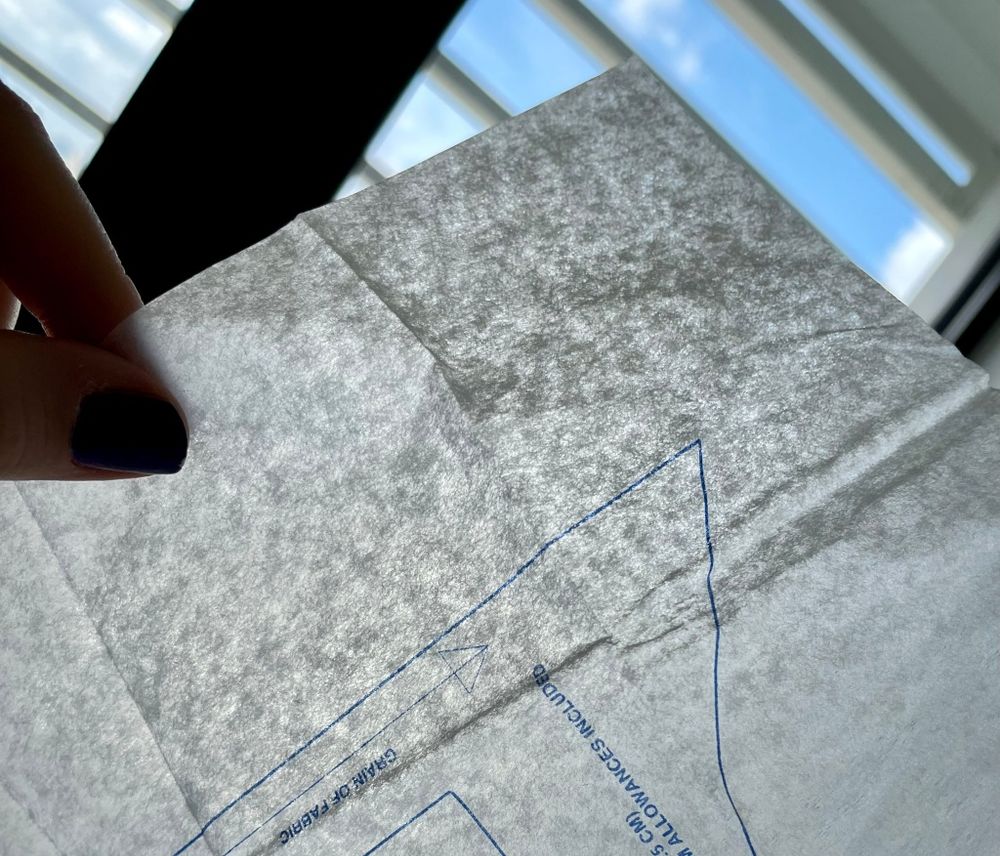
Because the pattern paper was folded in the envelope, they had to be ironed flat before cutting out the exact size needed. The pattern pieces are printed in different sizes on the same paper, and the idea is to cut them down to the desired size needed for the item of clothing. I do not quite know if that means multiple patterns of the same design need to be bought if I want to make them in different sizes or if there is a way to preserve the cut ones to use them later. Since our dog is tiny, I didn't bother with preserving the larger sizes.
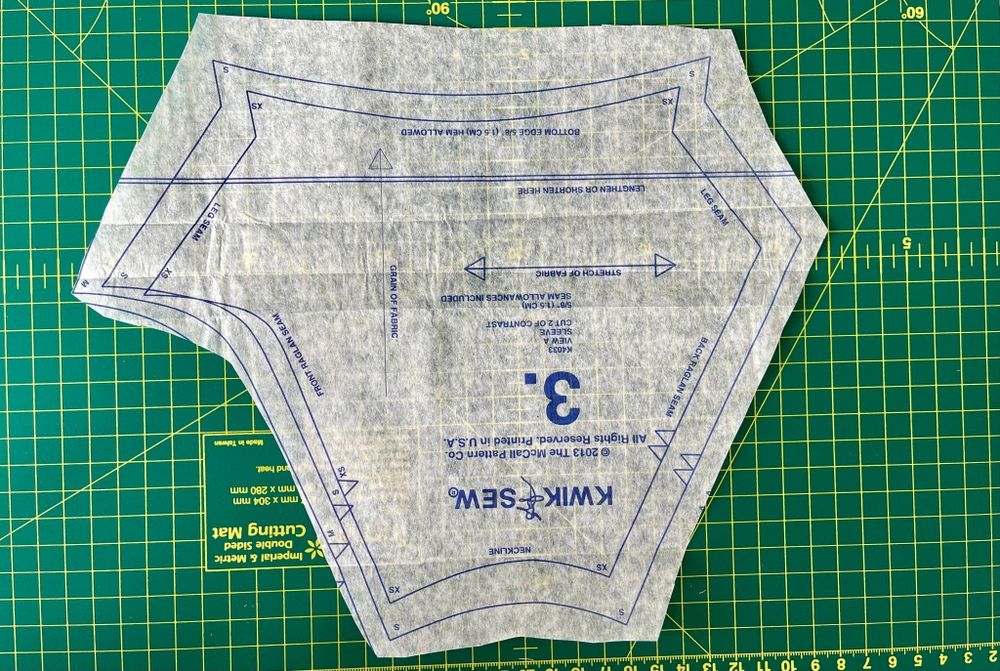
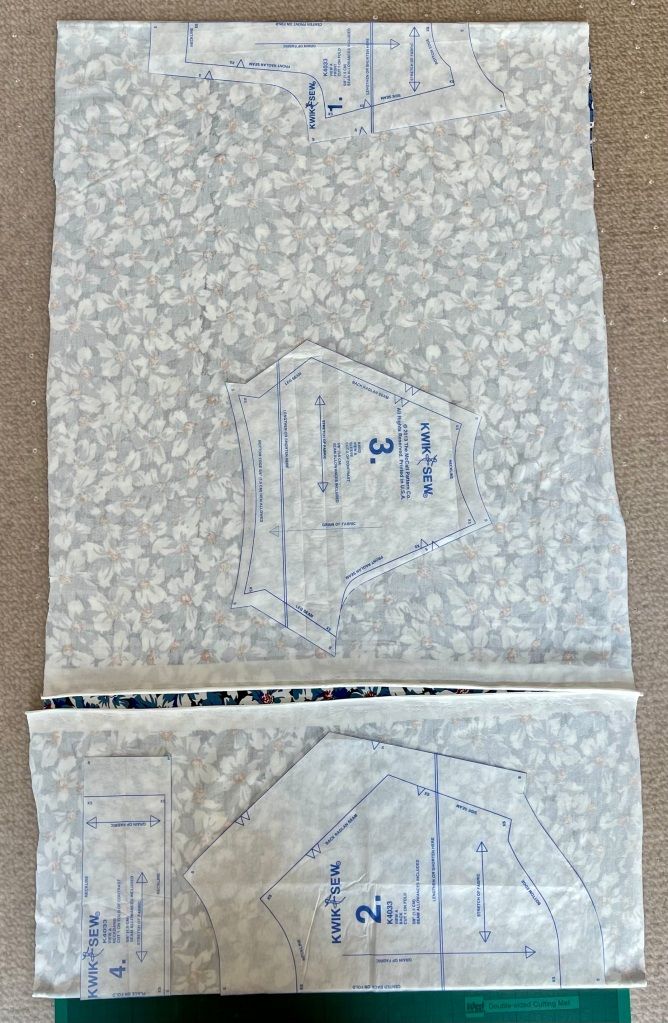
The pattern pieces then needed to be laid out on the fabric and cut along the paper edges with a rotary blade. I used needles to fix the pattern paper to the fabric so it wouldn't be moved by accident while cutting the fabric. At first I was really worried about cutting as precisely as possible, but I later realised that about 1.5 cm is used as a seam allowance and will be hidden away afterwards. That means I had at least a 1 cm margin of error. I think it is still better to cut as precisely as possible as the seam allowance is used for the actual stitches. The pattern pieces also had to be laid out on the "wrong" side of the fabric. The wrong side of the fabric is the one that has no pattern print on it. Think of the "inside" of a t-shirt. The side with the pattern print on it is called the "right" side of the fabric.
It was now time to sew the pieces together, and also my first time operating this intimidating new machine. And let me tell you something: the user manual is your best friend. Coming from the world of electronic gadgets and computers, I am not used to user manuals being useful. At most, there is a quick-start guide and, with some luck, a link to an app that explains even less. But this sewing machine manual explains and shows everything. And I mean everything. Want to know how to change the needle? Check the manual! Want to know how to do a particular type of stitch? Check the manual! Want to know about thread tension? Check the manual! To someone in the fashion industry or with experience with sewing machines, my praise of the user manual probably sounds strange. But it was a delight to see something so detailed.
And to no one's surprise, I made a lot of mistakes while trying to sew with a stretchy fabric on a brand new machine with no significant prior experience. One issue I ran into multiple times was that the fabric would get caught in the feed dogs of the sewing machine when trying to attempt a backstitch. The feed dogs are tiny little teeth at the bottom of the machine that move the fabric through the machine while sewing. That way, the fabric does not need to be pushed or pulled through. I am not exactly sure how to avoid clogging with such a thin and stretchy fabric. If anyone knows, please write me an email. Maybe it would help to retract the feed dogs and instead pull/push the fabric manually but I did not try this out yet.

At one point, I tried to remove the fabric after it got caught, and it ripped some small holes in it by accident. I sewed a little patch of fabric onto them to cover up the accident. It was not the most elegant solution, but it was better than having to cut a whole new piece of fabric and start over. It was just my first attempt, after all.
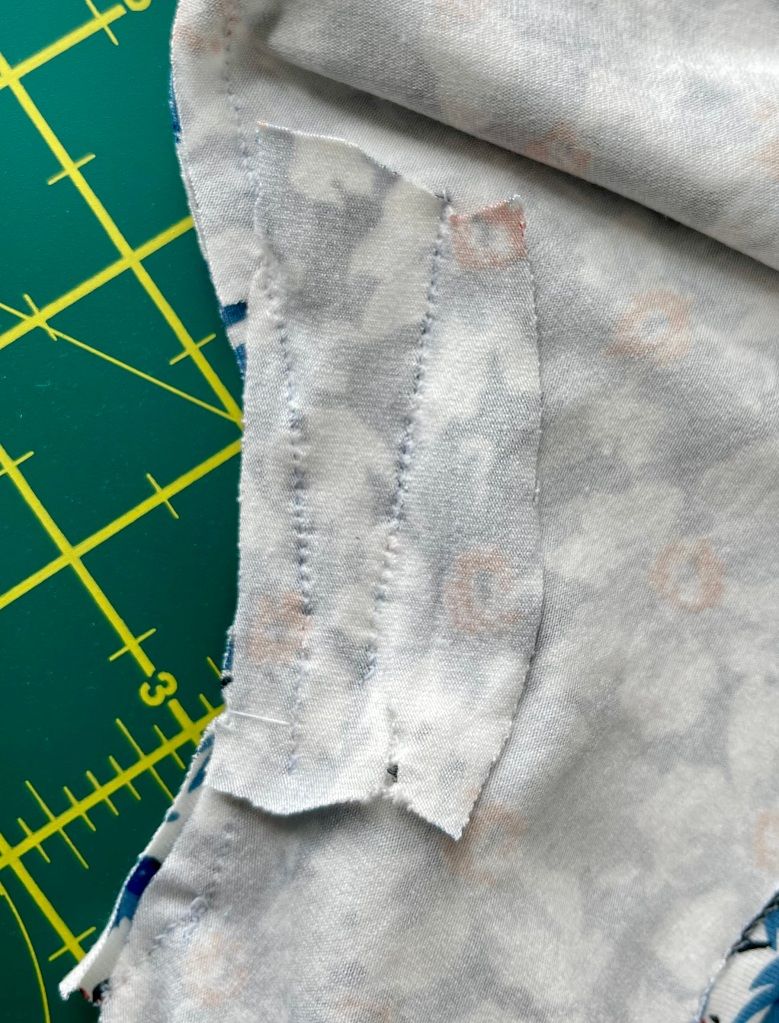
I encountered another issue when trying to overlock the edges of the seam allowance. Overlocking is a way to give the seam allowance a clean and professional look, as shown in the picture below.
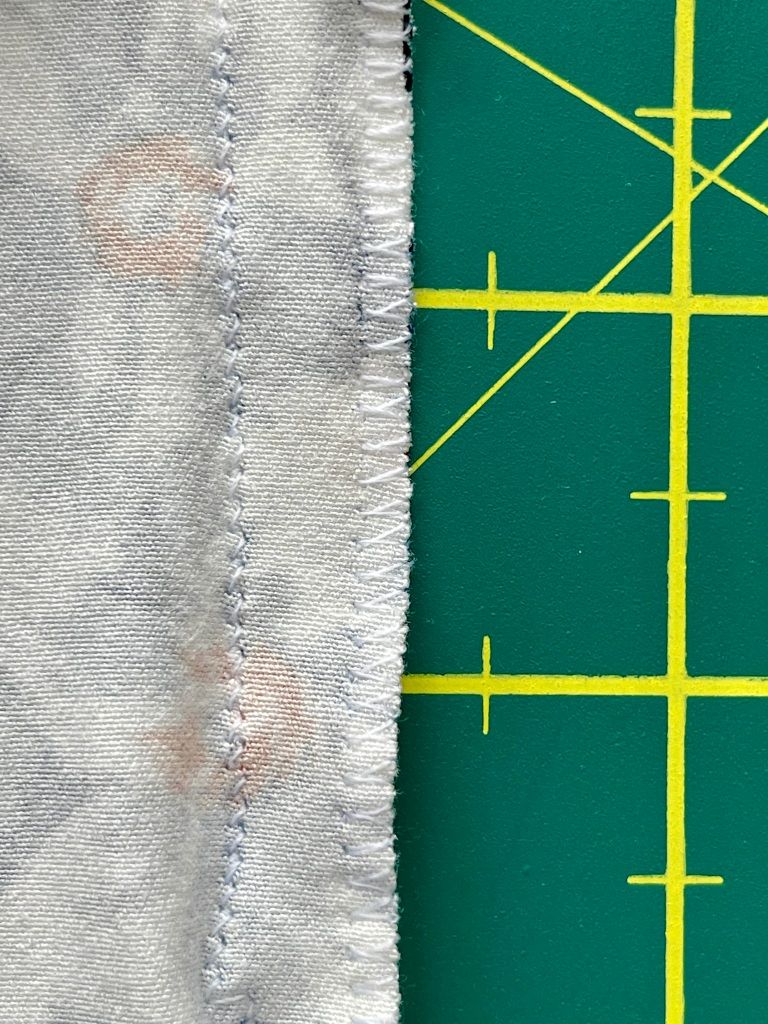
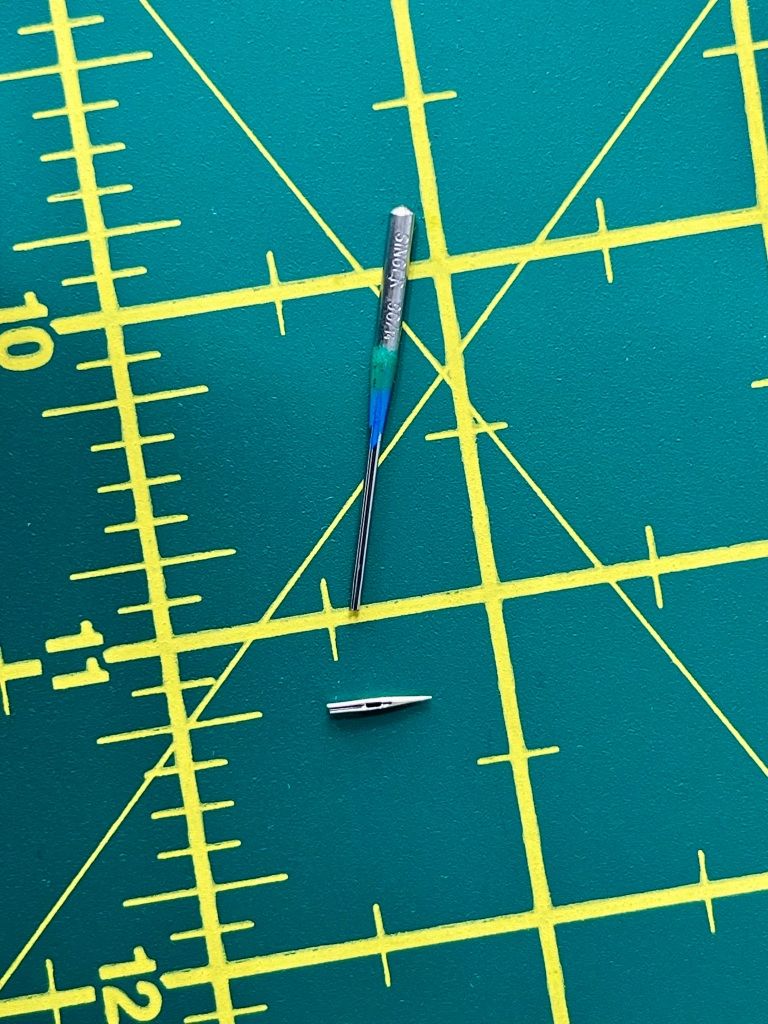
My issue was that the fabric would drift away from the presser foot after overlocking for a few seconds. I failed to understand why this was happening as I didn't pull on the fabric nor was there any weight that would pull it in a specific direction away from the presser foot. I would then try to guide the fabric towards the guideline of the overlocking foot, but then the fabric would get caught in the feed dogs again. At one point, the whole machine locked up so badly due to the caught fabric that my needle broke. This happened so fast that I am still not quite sure which exact chain of events led to the needle breaking.
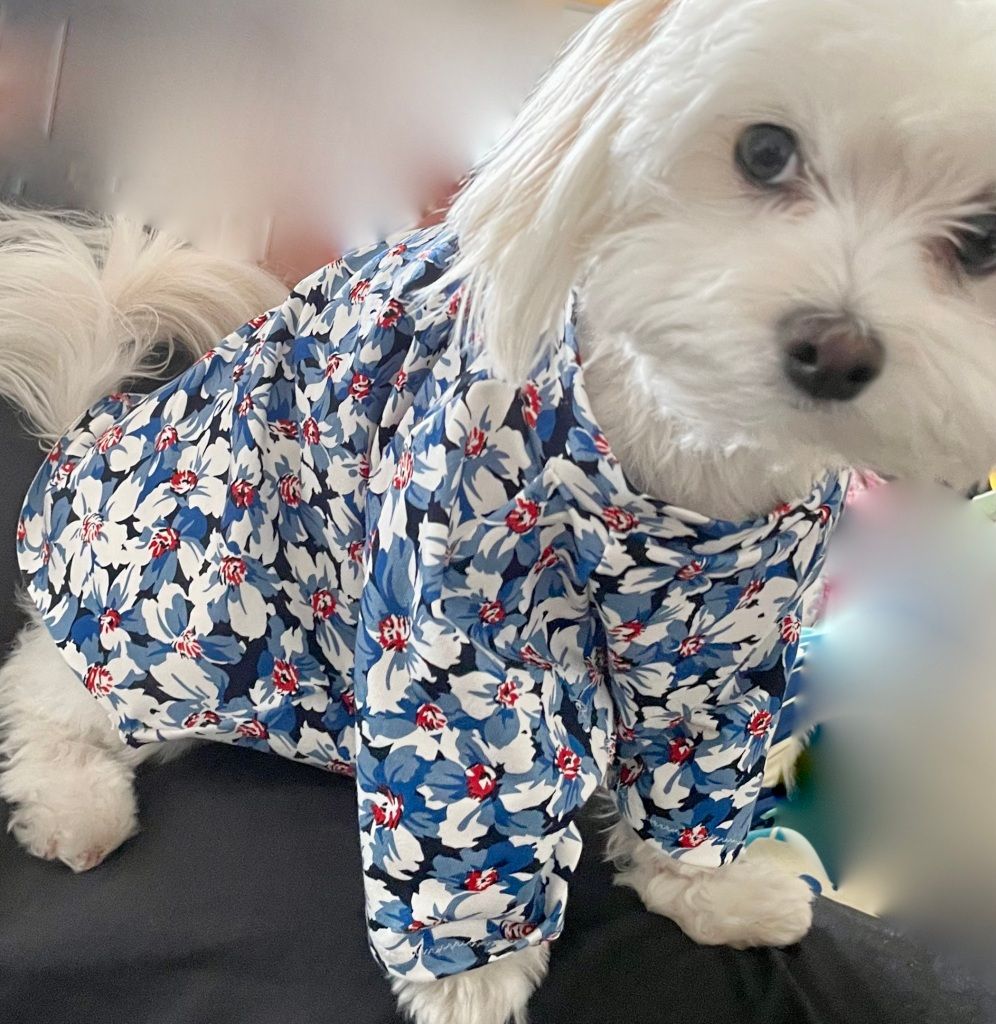
Despite all the mistakes and hurdles, I managed to finish the shirt for our little dog and there was nothing left to do but to try it on. And as you can see, it is a little bit too big. I should have gone with the smallest size of the pattern as opposed to the second smallest. Oh well... next time.
All these mistakes and issues come down to my lack of experience and understanding in this area. But I have already learned a lot from just going in unprepared and trying to finish my first item of clothing. I am now confident enough to just sit down with the sewing machine and do some very basic stitches. And I am looking forward to learning a lot more about sewing and fabrics in general.